
When you’re working on a website, especially one as large as WordPress, it’s important to be organized. This means breaking up the main categories into subcategories, which are further broken down to sub-subcategories, etc., etc.
Why Rename Categories in WordPress?
There are a few reasons why you might want to rename categories in WordPress. Maybe you’ve created a new category that is similar to one already in place. While this could be an accident, it can also be a way to simplify your categories for users, making the website easier to navigate.
Another reason to rename a category is if the name no longer accurately reflects the content it contains. For example, you might have a category called “Blog Posts”, but now you only want to use that category for static pages. In this case, you might want to rename it “Pages”.
Whatever the reason, renaming a category in WordPress is a pretty simple process.
How to Rename Categories in WordPress
To rename a category in WordPress, follow these steps:
1. Log into your WordPress website.
2. In the left-hand sidebar, click on “Categories”.
3. Hover over the category you want to rename and click on the “Edit” link.
4. In the “Category Name” field, enter the new name you would like to use.
5. Click on the “Update” button at the bottom of the screen, and your category will be renamed.
That’s all there is to it! Now your website is better organized and easier to navigate.
Changing the Category Prefix
Note that when you are renaming a category in WordPress, the prefix is not changed. For example, if your old category name was “Projects” and your new category is “Articles”, the category URL will still read project/articles.
Change category permalink structure
If you want to change the permalink structure for your category, you can do so by following these steps:
1. Log into your WordPress website.
2. In the left-hand sidebar, click on “Settings”.
3. Click on the “Permalinks” option in the left-hand sidebar.
4. Click on the “Custom Structure” radio button, then enter the following in the text field:
%category%/%postname%/
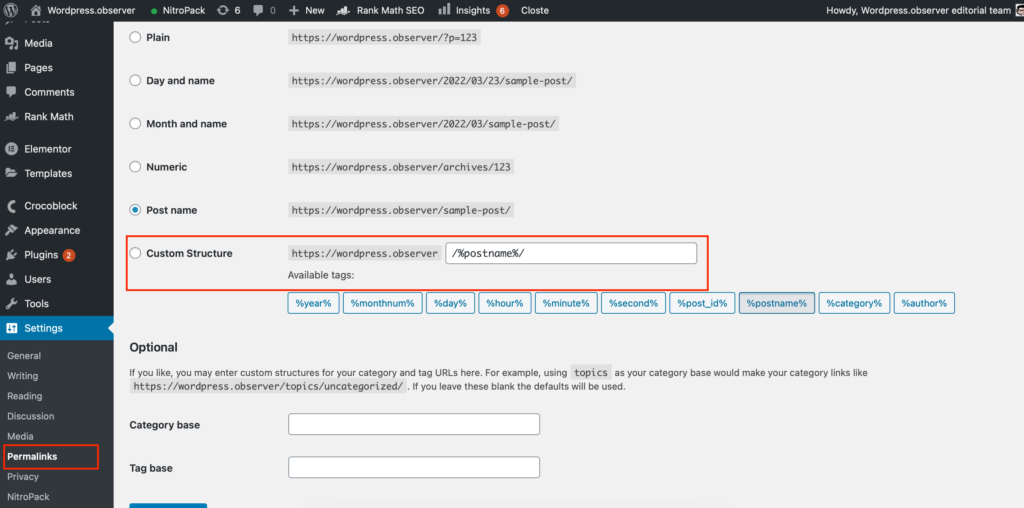
5. Click on the “Save Changes” button at the bottom of the screen, and your permalink structure will be changed.
To change the category prefix, you need to use a plugin like Category SEO.
This plugin will allow you to change the text that appears before the category URL. So, in the example above, you could change the prefix to read “articles/”.
This is a great option for business owners who want to be able to list the different categories of their businesses in search results.
Category SEO is simple and easy to use, and it’s a great way to make your website more search engine-friendly.
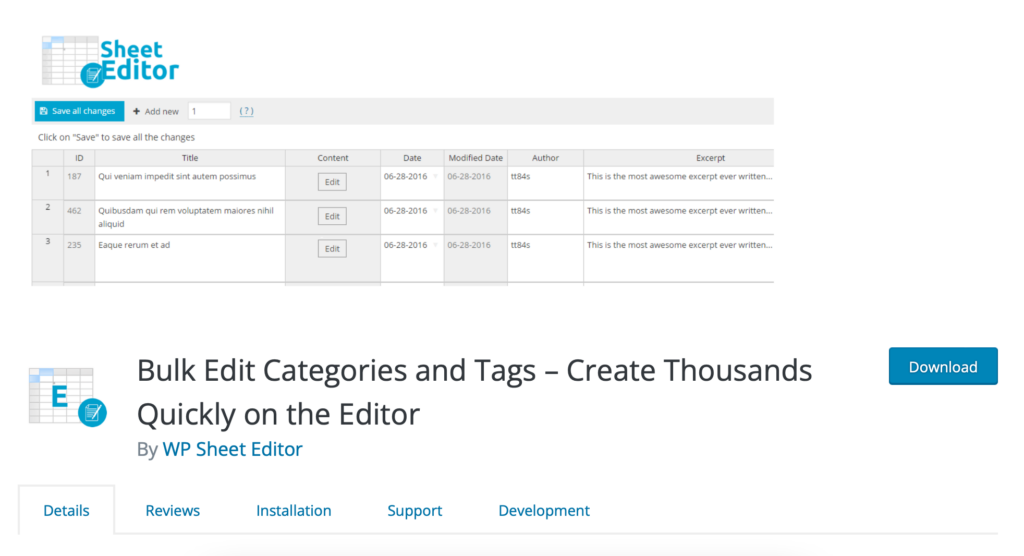
Merging and Bulk Editing Categories
If you have a lot of categories that need to be renamed, or if you want to merge two or more categories together, you can use the Bulk Category Edit plugin.
Merge Categories
With this plugin, you can select multiple categories and then merge them into one. This is a great option if you have two or more categories that are very similar, or if you want to combine two or more categories together.
Bulk Edit Categories
This plugin also lets you bulk-edit your categories. This means that you can change the name, the description, or taxonomy for multiple categories at once.
This is a great option if you have a lot of categories that need to be renamed, or if you want to change the permalink structure for a lot of categories at once.
Redirecting Users to the New Category URL
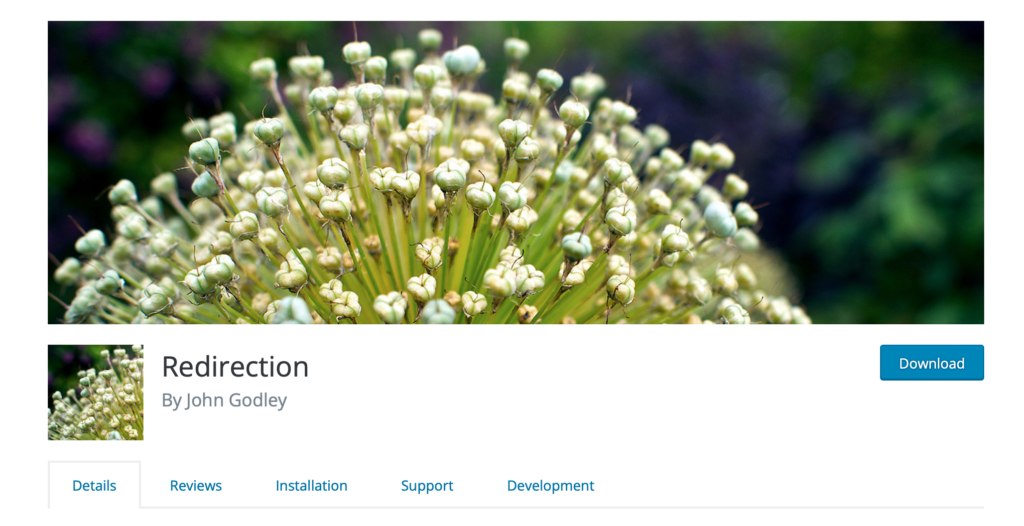
After you have renamed a category in WordPress, there may be some users who were previously subscribed to that category. If you want to redirect these subscribers to the new category, you can complete this process in two steps:
1. Install and activate the Redirection plugin.
2. Set up the plugin.
After you’ve installed and activated the Redirection plugin, go to Tools → Redirections in your WordPress dashboard.
In the “Source URL” field, enter the old category URL. In the “Target URL” field, enter the new category URL.
Then, click on the “Add Redirection” button. Your users will now be redirected to the new category URL.
Creating a Child Category in WordPress
If your website is set up so that all of the categories have sub-categories, you can create a child category by following these steps:
1. Log in to your WordPress website.
2. In the left-hand sidebar, click on “Categories”.
3. Click on the “Add New” button at the top of the screen.
4. Enter the name of your new category in the “Name” field.
5. Click on the “Parent” drop down menu, and select the category that you want this new child category to be under.
6. Enter a description for your new category in the “Description” field.
7. Click on the “Create Category” button.
Your new child category will now be created, and it will be listed under the category that you selected as its parent.
If you are interested in how to set up SEO for categories, read here.
Leave a Reply