How to correctly install WordPress SSL certificate and configure HTTPS for site?
When you launch your own website, your users will most likely need to leave personal information there. This means that you must comply with reliable security standards, for which both Secure Sockets Layer (SSL or TLS) and Hypertext Transfer Protocol Secure (HTTPS) play an important role. Fortunately, setting up a WordPress SSL certificate and installing HTTPS is quite simple and can be completed in just a few steps.
In this article we will talk about the following:
- What SSL certificate and when to use.
- What is HTTPS and how does it work with SSL.
- How to use WordPress SSL and configure HTTPS using two different methods.
- Two common mistakes you may encounter when using WordPress SSL, and how to fix them.
We have a lot to learn and there’s more work to do, so let’s get started!
Content
- What is SSL (and when should it be used)
- What is HTTPS (and how does it work with SSL)
- How to configure SSL and HTTPS on WordPress (2 methods)
- Two common mistakes in WordPress SSL (and how to fix them)
- Conclusion
What is WordPress SSL certificate (and when should it be used)?
Secure Sockets Layer (SSL) is a technology that creates a secure connection between a website and a browser. Sites that use SSL show that your personal information is safe during each transition.
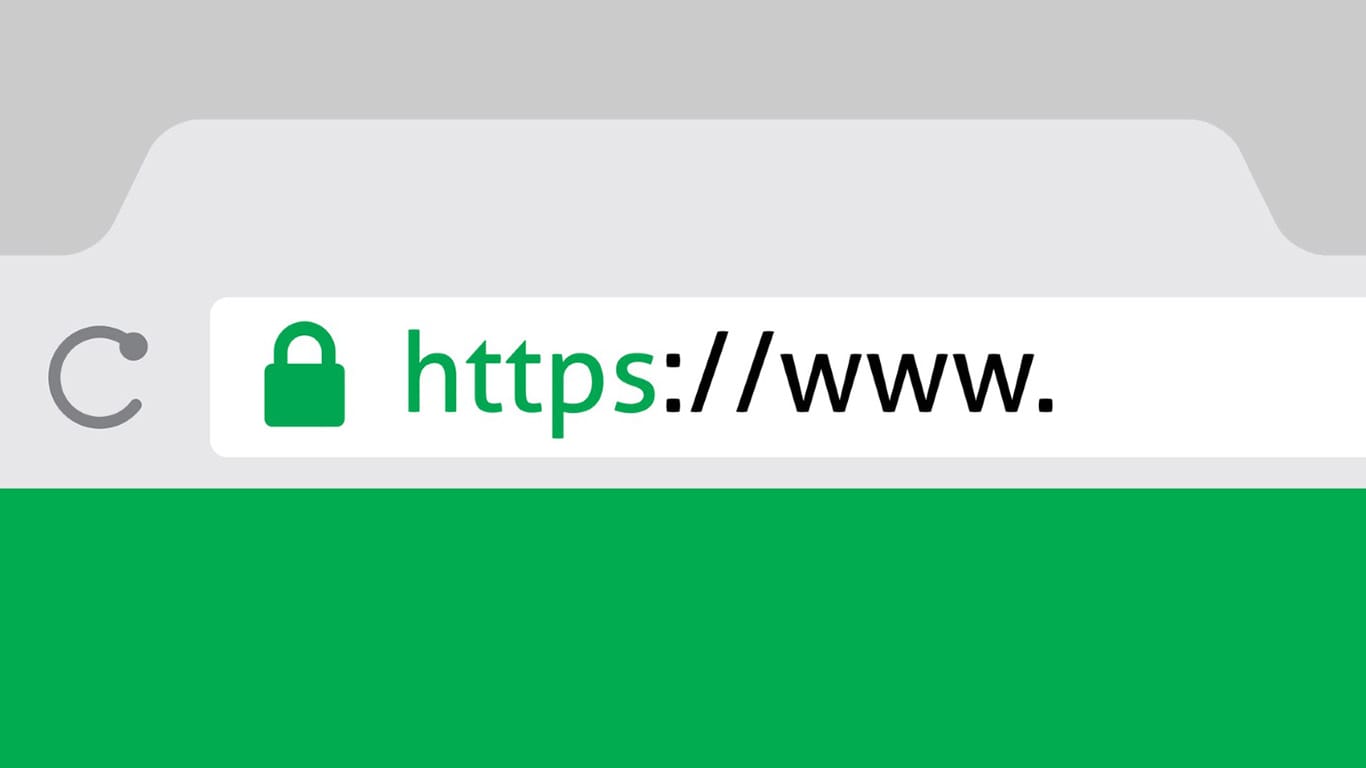
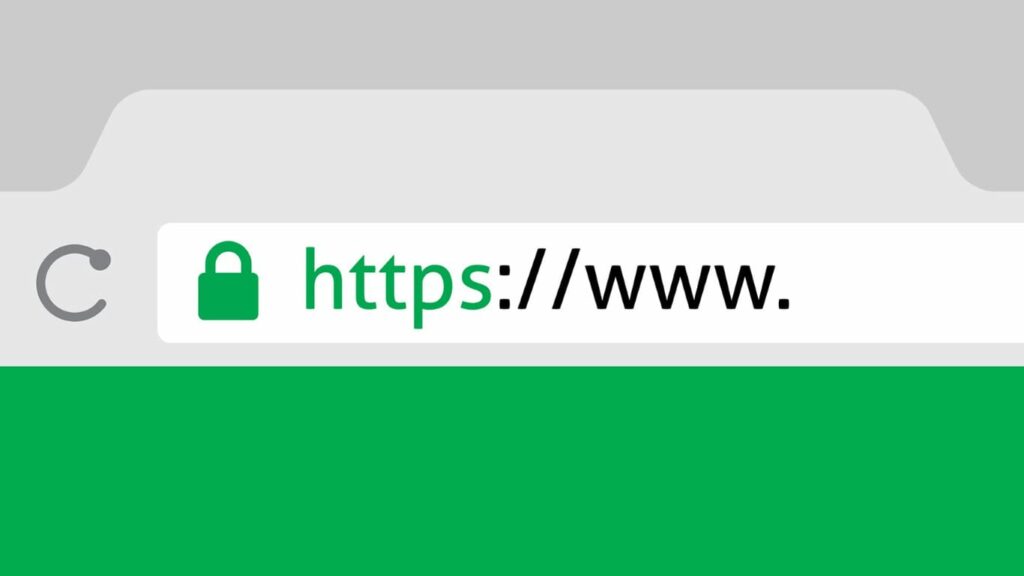
You can see whether the site is safe or not, by the image of the green lock, which many browsers use to identify:
 For example, if you buy something on the Internet, you should only do this through sites that use SSL. Otherwise, attackers can find out, use or modify your payment information, as it is sent via the Internet.
For your own site, installing an SSL certificate is required. There are a number of reasons for this:
- If you run a website where you offer users to register and share confidential information, their data will be safe.
- Your site will be more reliable.
- A cool green lock will appear next to the site address in different browsers.
- You will improve the search engine optimization of your site (SEO).
To clarify the last point – search engines such as Google encourage the use of SSL by all sites, giving preference to safe sites in their issuance. This means that you can protect the information of your users and, possibly, benefit from a certain amount of traffic at the same time.
In addition, Google announced that since the appearance in July 2018, Chrome has displayed a “unsafe” warning. Therefore, it’s time to ensure the security of your site by installing an SSL certificate, if you have not already done so.
Here at Kinsta, promote secure sites. Thus, each annual tariff hosting plan so contains a permanent free SSL certificate!
Installing a WordPress SSL certificate these days is pretty simple. There are several types of SSL certificates, but you probably won’t need anything special if you don’t run too complex a site or sell products online.
For all other types of sites, a free certificate usually does all the work. Moreover, you can easily configure it to work with Kinsta.
What is HTTPS (and how does it work with SSL)?
When you need to install a WordPress SSL certificate for your site, you also need to configure it to transmit data using the HTTPS protocol. Each site you visit uses HTTP or HTTPS as a prefix to the URL.
HTTPS works the same as HTTP, but provides higher security standards. If you download a website with HTTPS, you will find out that your data is safe during transmission. However, for HTTPS to work, the site you are trying to access needs an SSL certificate.
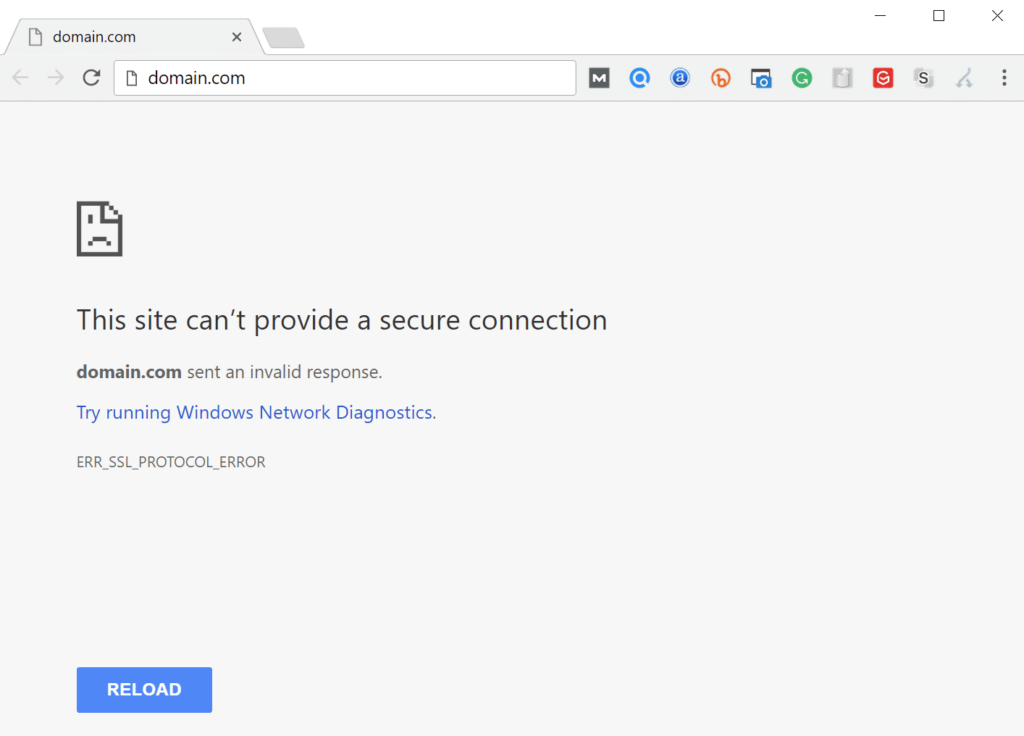
If you try to access a site without SSL using HTTPS, you will see an error similar to this:
In other words, SSL and HTTPS work hand in hand. If you use only one, users sending information through your site will not be protected.
Thus, your first step should be to obtain a WordPress SSL certificate and configure it to work with your site. After that, you need to tell WordPress to use HTTPS instead of HTTP. Let’s see how this process works.
How to configure SSL and HTTPS on WordPress (2 methods)?
At this point, we assume that you already have an SSL certificate configured for your site. Once you have done this, you just need to tell WordPress to use HTTPS. There are two main ways to do this.
-
Use the WordPress Toolbar and 301 Redirects
After installing WordPress SSL certificate, you need to configure your site to use HTTPS. This process is simple if you are launching a new website. However, if you add an SSL certificate to a site that has been in use for some time, it will be a little more complicated.
In any case, your first step should be to go to the control panel and open the Settings> General tab. Inside, you will find two fields called WordPress Address (URL) and Site Address (URL). Your site address must be identical in both fields, and must use HTTP.
What you need to do is replace the HTTP prefix with HTTPS in both fields and save the changes to your settings:

That’s all it takes to configure WordPress to use HTTPS. However, some users may have kept the old URL of your website, and it may remain online. You must ensure that these users use the HTTPS version of your site. To do this, you can configure URL redirection.
There are many types of redirects you can use. However, as a rule, it’s best to use the 301 redirect, which tells search engines that your site has moved from one address to another. To implement this redirection, you need to edit a file called .htaccess, which controls the interaction of your server with WordPress, as well as the structure of the URL.
This will require you to directly access the files on your site using a File Transfer Protocol (FTP) tool such as FileZilla. If this is your first time doing this, you can find all the details in our FTP guide.
Once you connect to your site via FTP, go to the public_html folder and find the .htaccess file inside:

Select this file and right-click on it, then select the View / Edit option. This will open the file with a local text editor, allowing you to make changes to it. Do not modify any code inside .htaccess unless you know what you are doing. Just go to the bottom of the file and paste the following snippet:
- <IfModule mod_rewrite.c>
- RewriteEngine On
- RewriteCond %{SERVER_PORT} 80
- RewriteRule ^(.*)$ https://www.yoursite.com/$1 [R,L]
- </IfModule>
To do this, you will need to replace the URL in this code with the full HTTPS address of your site. This will redirect any connection that comes through port 80 to the new secure URL. As you know, port 80 is standard for HTTP connections, so it will “intercept” almost everyone who is trying to access your website through the old address.
After adding the code with the URL, save the changes to .htaccess and close the file. FileZilla will ask if you want to upload these changes to your server, which you will agree to. If you try to visit your site using the HTTP URL, your browser should automatically redirect you to the HTTPS version.
-
Install the plugin for WordPress SSL certificate
If you prefer not to enter data manually through WordPress, there are easier ways to set up HTTPS on your website. For example, you can configure a plugin for the WordPress SSL certificate, which adds the same code that we described in the previous method.
Although this approach is much simpler, it also has some additional risk. For example, if compatibility issues arise with another tool, the SSL plugin may stop working and the site will not download HTTPS until you fix the problem. This means that you need to carefully choose your plugin.
We recommend Really Simple SSL, as it is very easy to configure. All you need is a WordPress SSL certificate ready to go:
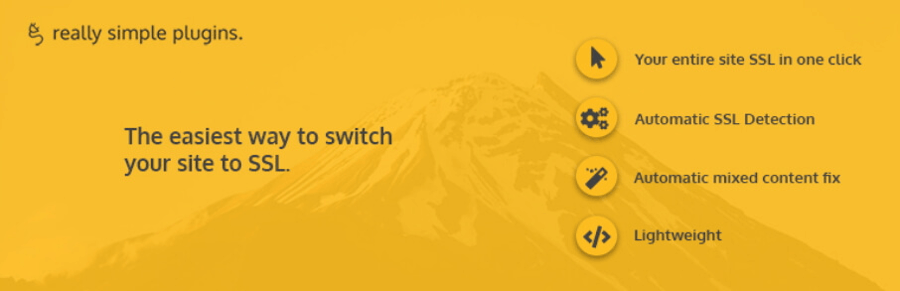 After installing and enabling the plugin, it scans your site for a WordPress SSL certificate. If found, it will help you enable HTTPS on the entire site in just one click. To do this, just go to the Settings> SSL tab on the control panel and click the Reload in HTTPS button. Yes, everything is so simple!
If the Really Simple SSL plugin doesn’t seem so simple to you, there are alternative tools that you can use to achieve the same results. There are other great WordPress SSL certificate plugin options that include WordPress HTTPS (SSL) and Force HTTPS.
Two common mistakes in WordPress SSL certificate (and how to fix them)
At this point, you already know how to make sure that all visitors to your site get the opportunity to use a secure connection. However, in some cases, pushing WordPress via HTTPS can lead to several errors. Let’s talk about what errors are and, just in case, how to fix them.
1. Some files cannot be downloaded via HTTPS
After enabling HTTPS for your site, you may find that some of its files, such as images, do not load correctly. This is because WordPress still uses HTTP for them instead of HTTPS.
If you have a problem with the images of your site, CSS or JavaScript, the easiest way to solve it is to make a few additions to your .htaccess file. However, this approach only applies if you used the manual method from the previous section. We’ll talk about what to do if you use the plugin instead a bit later.
Go to your website via FTP again and find the .htaccess file in the public_html directory. Open it and find the previously added code to set up 301 redirects. It should look like this:
- <IfModule mod_rewrite.c>
- RewriteEngine On
- RewriteCond %{SERVER_PORT} 80
- RewriteRule ^(.*)$ https://www.yoursite.com/$1 [R,L]
- </IfModule>}
You will need to delete this fragment and replace it with a more complete one. This is not necessary in most cases, because problems with some resources that do not load properly are not so common. However, if you encounter such a problem, here is the code that you should use instead of the previous one:
- <IfModule mod_rewrite.c>
- RewriteEngine On
- RewriteCond %{SERVER_PORT} !^443$
- RewriteRule (.*) https://%{HTTP_HOST}%{REQUEST_URI} [R=301,L]
- RewriteBase /
- RewriteRule ^index\.php$ – [L]
- RewriteCond %{REQUEST_FILENAME} !-f
- RewriteCond %{REQUEST_FILENAME} !-d
- RewriteRule . /index.php [L]
- </IfModule>
This code will redirect all traffic through HTTPS. It also includes rules for your files in WordPress, so this code will take care of all the files that did not work correctly. After adding it, save the changes to the .htaccess file and upload them back to the server.
If you configured your site to use HTTPS through the plugin, you do not need to manually configure the .htaccess file. Instead, most plugins will offer an alternative solution. For example, Really Simple SSL can find files on your site that cannot be downloaded via HTTPS and help you fix them. To use this function, go to the Settings tab> SSL, and then go to the plugin settings page:
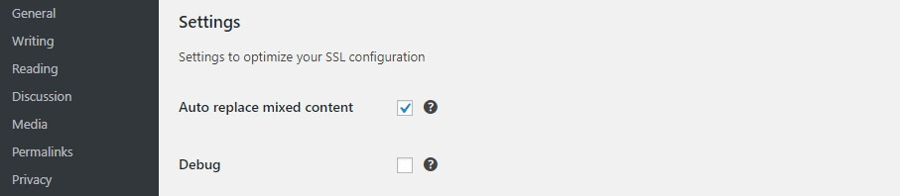
At the top of the screen is the AutoCorrect Mixed Content option. Make sure it is turned on, and then save the changes to the plugin configuration. This option ensures that WordPress uploads all objects via HTTPS, not just your posts and pages.
2. Your WordPress caching plugin is causing problems
If you have the WordPress caching plugin installed, your browser may try to download the cached version of your website via HTTP, which may lead to some errors. The fastest way to solve this problem is to clear the cache in WordPress.
How the caching process will happen depends on which plugin you use? However, this will not take you more than a few minutes. For more information, see our WordPress Cache Cleanup Guide for WP Super Cache, W3 Total Cache, and WP Fastest Cache. If you use another caching plugin, you may need to look in the help for instructions on how to proceed.
In any case, once you clear your cache, try loading your site again to make sure your browser uses HTTPS without any errors. Now the installation of SSL certificate has been successfully completed!
Conclusion
Previously, the WordPress SSL certificate was reserved only for business websites that encountered a lot of confidential information. SSL and HTTPS have become commonplace these days. In fact, search engines themselves, such as Google, recommend using them. Fortunately, as you can see, installing an SSL certificate and using HTTPS for your site in WordPress is a pretty simple task.
Do you have questions about how to use WordPress SSL and configure HTTPS? Let’s talk about them in the comments section below!
Leave a Reply