How to Automatically WordPress post to Facebook
Today every blogger wants his content to be seen by as many users as possible. This is also the BASIC goal of all marketers. In order for your articles to receive more and more viewers and popularity every day, you cannot do without Facebook and other social networks.
Publishing content to Facebook is one of the most effective ways to reach more audiences. And of course, get more subscribers … But unfortunately, it really takes too long to manage content on different platforms at the same time.
But as you already know in WordPress, anything is possible! And what is not possible we will build. And we have found a great solution so that you do not waste your time in vain.
Automatically publishing your posts from the WordPress website to Facebook is a great solution! After reading this article, you will be able to set up the automatic publication of your posts. This will help you:
1. make your website on WordPress even more popular
2. Get more free traffic from social networks
3. Save your precious time and money
In addition, in this article, I will tell you about several good ways to set up automatic publication of your posts on Facebook. And also in our other articles, you can learn how to set up work with social networks and much more.
What is Automatically WordPress post to Facebook for?
- If you’ve just started blogging and your WordPress website is getting a little traffic, this little trick will definitely help you:
- In order to expand your audience
- In order to increase the interest of your new audience with new messages on Facebook
- To increase the visibility of your blog
- To ensure that managing and maintaining pages on social networks does not take your and your team’s time
- In order to get additional and free traffic
But even if your blog on WordPress in your opinion is already quite popular and you are still adding posts to Facebook by hand, you can end up with it …
Automatically post messages to Facebook using a script
This method has several steps and is suitable for those who do not want to install the plugin on their WordPress website. In doing so, creating additional weight on it. Another plus of this method is that the automatic posting of messages using a script will not affect the website loading speed.
Step 1. Find or create an IFTTT script
If you are going to set up Automatically WordPress post to Facebook without a plugin, you must use a script on your WordPress blog to post content to Facebook. It’s called If This Then That (IFTTT). This is the fastest way to add the functionality you want without using an additional plugin on your website.
To set up an IFTTT script, it is best to use the free IFTTT platform. First, you need to create an account on the site:

When your account is ready you will see a huge library of applets. You just need to enter “WordPress” or “Facebook” in the search bar. And all the tools you need will be provided

Step 2. Connect your WordPress account
After you find the applet you want, you must select it. Then in the window that opens, click “Connect”

Then the next page will open where you need to enter some data for your WordPress website

If you have two-factor authentication (2FA) enabled, you will definitely need to create a password for a specific application.
Step 3. Connect your Facebook profile
Connecting your Facebook account is very easy too. You just need to enter your login details:

After you do that, you will need to select the Facebook page where you are going to automatically submit posts from WordPress:

If you have not one but several Facebook pages on which you want to publish content, you need to create and configure a separate applet for each of them.
Step 4. Configure applet settings
There are several important parameters you need to configure. Customize the settings for your IFTTT applet with these simple options:

There is also the option to write text that should appear on your Facebook page when posts are automatically posted. After you’ve done that, don’t forget to hit the save button.
In case you need to make any changes, go to the “my applets” section in your profile. In the upper right corner of the IFTTT page window, you will find the user icon. You can make all the necessary changes from there:

When you click on one of your created applets, you will immediately access their settings. You can also check all activity logs to make sure everything is working correctly and without errors.
Automatically WordPress post to Facebook using a plugin
For some, the first option for connecting automatic posting to Facebook may seem complicated and not flexible enough for settings. Perhaps you have special wishes or ideas, or you just don’t want to sign up on third-party platforms … Then the way to customize this useful feature with a simple plugin is the one that suits you best.
Step 1. Find and activate the plugin for automatic publishing
There are some great plugins that you can choose from for automatically posting your posts to Facebook. But we recommend using a plugin called Blog2Social. This is a very popular and modern way to connect WordPress to your Facebook page.

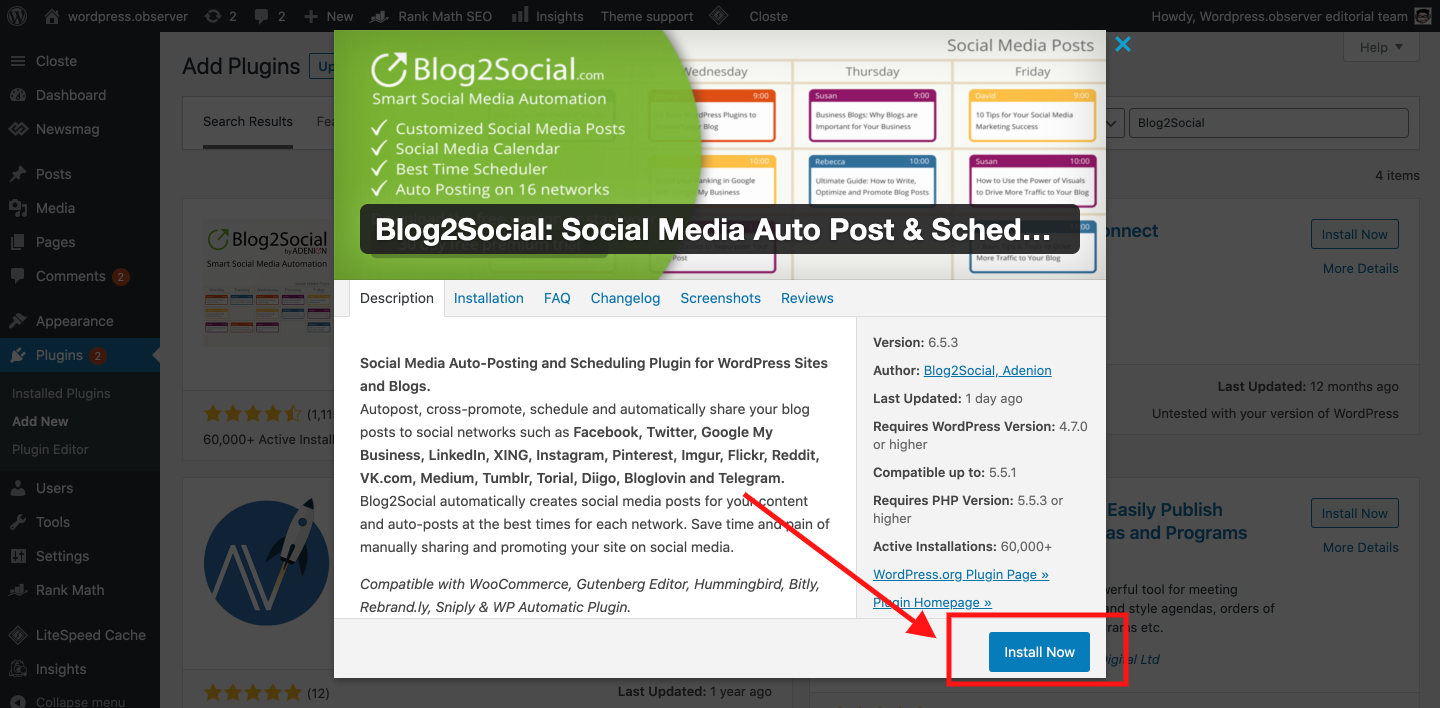
First of all, go to the admin panel of your WordPress website. Go to the tab Plugins> Add new. As shown in the picture … Enter the name of the plugin in the search bar and click the Install and Activate button.

Step 2. Connect Blog2Social to your social media accounts
To get started, let’s connect Blog2Social to those social media accounts that you are going to set up automatic posting of your posts to. Go to the Networks tab as shown in the picture

Find the needed social network in this list, for example, we set up automatic posting on Facebook. Click on the Add Profile button opposite Facebook (as in the picture)

And already in the window that opens, enter the login and password for your Facebook page. This is done so that WordPress can access your profile.
Step 3. Set up the schedule of auto posts in the calendar
Setting up this plugin really saves you time since you don’t have to go back to this point over and over again … You just set up your schedule in the calendar and forgot about it). This is very easy to do. Go to Blog2Social> Calendar in the toolbar.

In the calendar that opens, you can set specific dates for publishing your blog posts on Facebook or other social networks. To do this, simply click the + Add post button in the cell with the needed date by selecting the appropriate network. This way you no longer have to worry about publishing your post on Facebook in case you forget to do it on time. Because as soon as a new article appears on your blog, it will automatically be published on Facebook at the time you need.
Another important point: you need to customize the settings of your posts, to be formed correctly. Go to Blog2Social> Settings:

On the settings page, you can choose whether you want your WordPress tags to appear as hashtags on Facebook. I highly recommend choosing this. Because it is by hashtags that your future audience will be able to find your Facebook page and visit your website. Also, turn on shortcodes in your posts and you can try turn on a URL shortener.

Step 5. Submit your best posts manually
In case you have posts that you want to publish immediately on social networks, this method will suit you. Go to the Site and Blog Content tab, you will see a list of all your posts. When you select the post you want, click the “Share on social networks” button.

Leave a Reply