
There are many ways to back up a WordPress site. In this article, we will show you four methods: backup plugins, manual backups, cPanel backups, and restored backups.
1. Backup Plugins
One of the easiest ways to back up your WordPress site is by using a backup plugin. There are many great backup plugins available, such as BackWPup, WP Time Capsule, and Duplicator.
Backup plugins allow you to automatically back up your site on a schedule, and they also make it easy to restore your site if something goes wrong.
2. Manual Backups
Another way to back up a WordPress site is by doing a manual backup. This method involves downloading your site files and database to your computer.
To do a manual backup, you will need to access your site’s files via FTP or cPanel. Then, you can download the files to your computer. You can also export your WordPress database to CSV or XML format.
3. cPanel Backups
Some web hosts offer an easy way to create backups of your WordPress site. This method typically involves using cPanel, which is a hosting dashboard that some providers use.
To find out whether your host offers this feature, you will need to login to cPanel and look for something like “backups,” “restore,” or “create backup.”
4. Restored Backups
The final method to back up a WordPress site is by restoring an existing backup. If you have ever created a backup of your site, then you want to also create an additional backup that you can use to restore your site if something goes wrong. You can easily do this using the Duplicator plugin.
6 Best plugins for create backup for WordPress website:
–BackWPup plugin
BackWPup is a plugin that can be installed in WordPress to create backups of your website. It is free and easy to use. The first step is to install the plugin. To do this, go to Plugins > Add New in your WordPress dashboard and search for BackWPup. Then, click Install Now and Activate the plugin.
The next step is to create a backup. To do this, go to Tools > Backups and click the New Backup button. You will then be able to choose what you want to back up. The default settings are usually fine, but you can customize them if you want. When you’re done, click the Backup Now button.
BackWPup will not only create the actual backup, but also send you an email with a link to it. You can then download the backup file or restore your website using this file directly from your WordPress dashboard. There are several other settings that you can play around with in BackWPup. I recommend that you check them out too.
–WP Time Capsule plugin

WP Time Capsule is another plugin that can be used to back up a WordPress site. It costs $49, but it’s definitely worth the money. The free version only allows you to save up to 3 backups and you cannot restore them from inside WordPress. However, with the full version, you get access to unlimited backups and you can restore them from the WP Time Capsule dashboard.
That said, here is how to use WP Time Capsule. The first step is to install it just like any other plugin so go to Plugins > Add New in your WordPress dashboard and search for WP Time Capsule. You can then click Install Now and Activate the plugin.
Once you activate it, go to WP Time Capsule > Settings in your dashboard. There are several settings that you can adjust here. I usually change the default Destinations for my backups to Amazon S3 or Dropbox since they offer really great security for your backup files. You can also enable email notifications if you want to be notified once a backup has been created successfully.
Once the settings are configured the way you want, all you have to do is click Backup Now! That’s it, your backups will now start being created automatically for you. You can go to WP Time Capsule > My Backups in your dashboard to view all of your backups and download them. If you want to restore your website from one of the backups, click Restore From a Backup and choose the backup file that you want to use.
– Backup Buddy plugin
Don’t let its name fool you – Backup Buddy is another great plugin for creating backups in WordPress. There are 3 different packages available: the Personal package (free), the Professional package ($15/year), and the Agency package ($200/year).
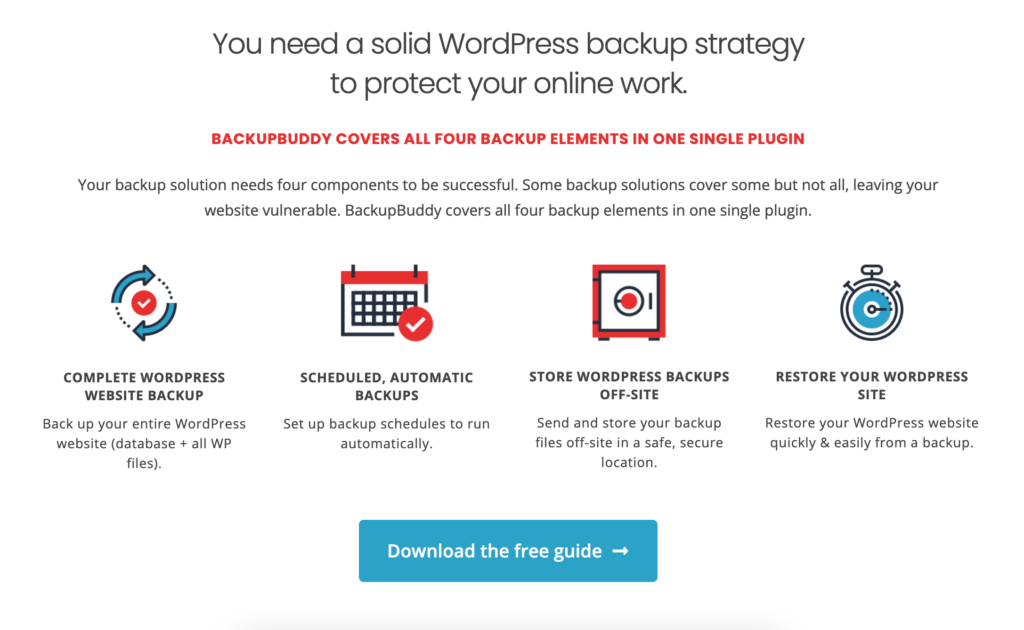
The Personal package allows you to back up your website and database, while the other 2 packages also include additional features such as email notifications and automatic backup schedules. You can install Backup Buddy by going to Plugins > Add New in your WordPress dashboard and searching for BackupBuddy. You can then click Install Now and Activate the plugin.
Once you have activated it, Backup Buddy will add a new menu item to your WordPress dashboard called BackupBuddy. Clicking this will take you to the main BackupBuddy screen where you can create backups, restore backups, and perform a lot of other cool stuff.
You can click the Backup Now button to create a new backup or you can schedule automatic backups using the scheduling section in the top-right. You also have the option of backing up your files and database separately, which can come in handy sometimes. When you’re done with all that, click Download Full Backup to download the backup file to your computer.
And that’s it, you’re now a Backup Buddy expert! Well, not really, but you now know how to use the plugin and create backups of your WordPress website.
–Duplicator plugin
The Duplicator plugin is a popular plugin for creating backups of your WordPress website. It has been downloaded over 1 million times and has a 4.8 out of 5 star rating on the WordPress Plugin Repository.

The Duplicator plugin is free to use, but there is also a paid version with additional features. You can install the free version by going to Plugins > Add New in your WordPress dashboard and searching for Duplicator. You can then click Install Now and Activate the plugin (you may need to also install a separate plugin called Subscription API if you want to use the paid version).
Once installed, you will be able to create backups using Duplicator by going to Duplicator > My Duplications in your dashboard. From here, you can create a new backup and configure all of the options available to you via the plugin’s settings as well as any email notifications that you want to be sent out. You can also see your existing backups and restore them from this screen.
As I mentioned earlier, there is also a paid version of Duplicator that includes additional features. The paid version allows you to schedule automatic backups, clone your website, and more. You can purchase the paid version of Duplicator by going to its website.
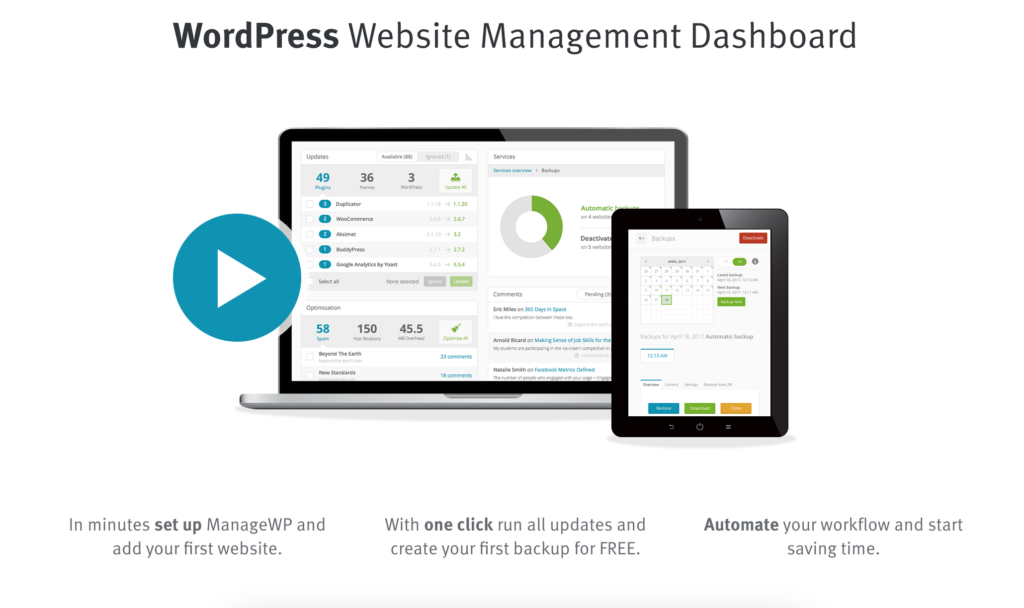
–ManageWP plugin – very easy tool for back up a WordPress site
The ManageWP plugin is a popular plugin for managing multiple WordPress websites from a single dashboard. It also includes a built-in backup feature that you can use to create backups of your websites.
You can install the ManageWP plugin by going to Plugins > Add New in your WordPress dashboard and searching for ManageWP. You can then click Install Now and Activate the plugin.
Once installed, you will be able to create backups by going to Tools > Backup in your WordPress dashboard. From here, you can choose which websites that you want to back up and how often they should be backed up (you can choose from daily, weekly or monthly backups). You can also choose to back up your files, database or both.
When you’re done configuring your backups, simply click the Backup Now button and the plugin will take care of the rest. You can also configure email notifications for backup failures, so you’ll be notified if something goes wrong.
The ManageWP plugin is a great solution if you use multiple WordPress websites and want them to be backed up from a single dashboard.
–UpdraftPlus plugin how to use for backup
UpdraftPlus is another popular backup plugin that has been around since 2010. It’s been downloaded over 1 million times and has a 4.7 out of 5 star rating on the WordPress Plugin Repository.
The plugin is free to use, but there is also a paid version with additional features. You can install the free version by going to Plugins > Add New in your WordPress dashboard and searching for UpdraftPlus. You can then click Install Now and Activate the plugin.
Once installed, you will be able to create backups using UpdraftPlus by going to Tools > Backup in your WordPress dashboard. From here, you can choose which parts of your website you want to back up and how often they should be backed up (you can choose from daily, weekly or monthly backups). You can also configure email notifications for backup failures, so you’ll be notified if something goes wrong.
The paid version of UpdraftPlus includes additional features, such as the ability to clone your website, schedule automatic backups, and more. You can purchase the paid version of UpdraftPlus by going to its website.
Leave a Reply